It takes a lot of work to keep your gardens looking great, the chores are never ending. It’s a good idea to delegate if you can and one thing you can delegate is irrigation.
In this series we’ll look at the different installation options, answer your questions and help you get the most out of your irrigation system. The possibilities are almost endless so the first thing to consider is what will be watered.
Pot Plants
Take these pot plants. All you need to do is to get the water here by using poly pipe. Once here, flexi tubes will do the rest. You need to keep your flow slow and low so drippers are the best. Stakes will keep everything in place.
For hanging plants, the tubing comes down from the rafters. Delicate seedlings and ferns need special care so use 360° misters for these. They can also double as a cooling system on a hot summer’s day.
Garden Borders
Now if it’s a garden border that you want to irrigate then you could use drippers directly into the poly pipe or to keep things simple, use garden drip. You simply lay it out, connect it with fittings and turn on the tap. The drippers are already built in so it’s a quick and easy way to set-up large and long areas.
Alternatively, you can insert drippers directly into poly pipe which gives you more flexibility. You can choose a flow between 2 and 4 liters per hour and even better, fully adjustable. You can also use pressure compensating drippers if your garden is on a hill.
Garden Beds
When it comes to garden beds, veggie or otherwise, you have the option of drippers, sprays and sprinklers. The right choice will largely depend on the size of your bed, the plants, soil, water source and, of course, personal preference.
For larger areas, sprays or sprinklers are great but be mindful of wet leaves, evaporation and water pressure issues. Being slow and low, there is less water loss with drippers but of course, they are not suitable for large areas and you have to be mindful of insects and soil blockages.
Lawns
If you are in the process of laying new turf, think ahead and include some pop-up sprinklers in your plan. Neta pop-up sprinklers come in a range of patterns such as circles, semi-circles, narrow strips, and the versatile adjustable ones. Your 13mm poly pipe won’t cut it for this job though, better to use 19mm that can move larger amounts of water.
Whether you have pots, borders, beds or lawns, it’s important that you measure and plan your irrigation system before you go shopping. This will ensure you purchase the correct products to ensure efficient and effective watering.
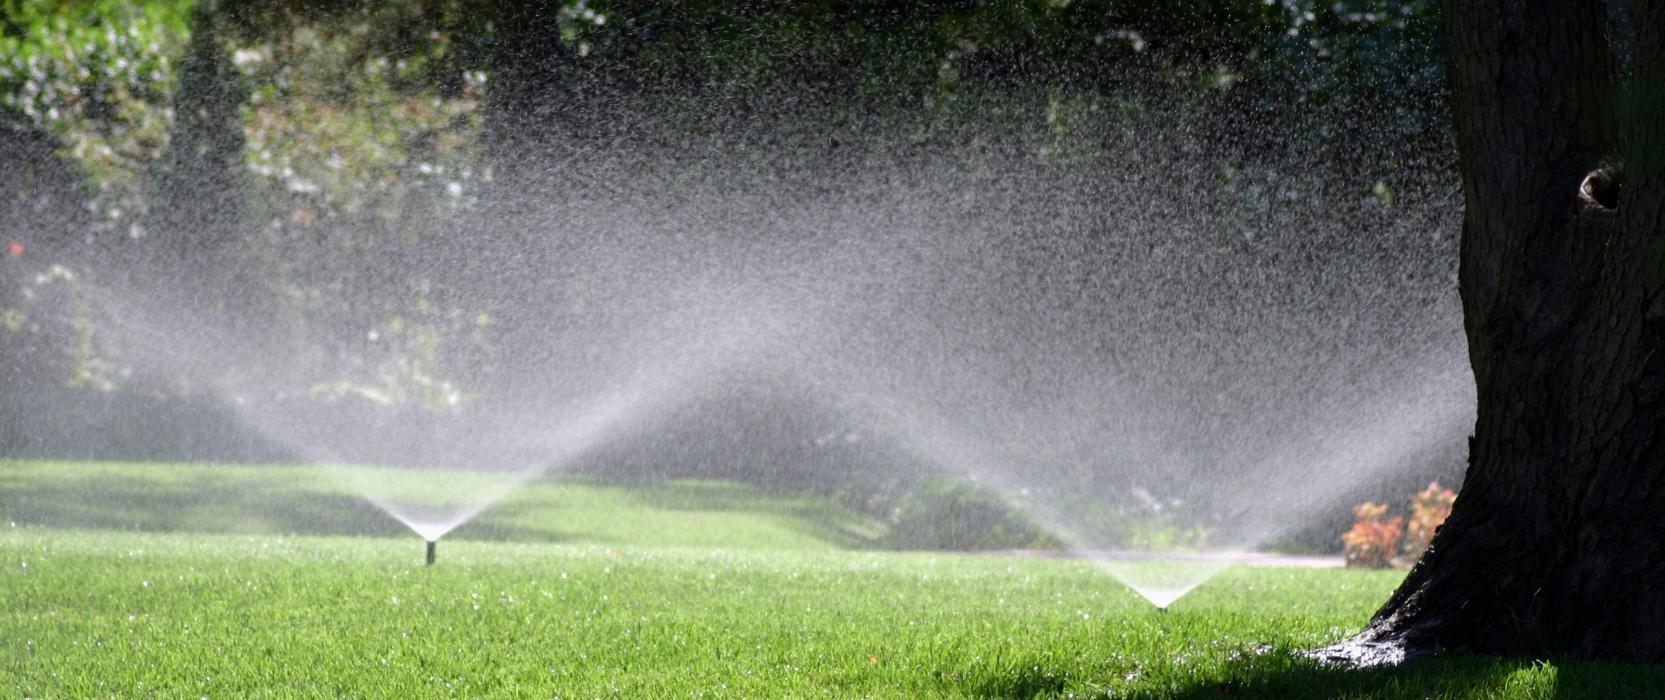
Here are a few tips and tricks to make the installation of your irrigation system easier. First thing to look at is tubing, first thing you need to do is get the water from your tap to your garden, to do this use poly pipe. Poly pipe comes in different diameters depending on your water needs, usually either 13 mil or 19 mil.
Once you set up your main line, you’ll need to organize how you’re going to get water from the main line to the plants. If your main line is close enough to the plants, you can put sprinklers or drippers straight into the main line. If you need to move the water out, you can use flexible tube with either drippers or sprinklers on the end.
An easier alternative to running a main line with separate sprinklers is to use garden drip. Neta garden drip has holes spaced 30 centimetres apart and allows four liters per minute to flow through. It also prevents ants and dirt from getting in and blocking the holes. Your poly pipe will come tightly bound when you purchase it and need to be straightened out. If you don’t have a friend to help you do this, use a pipe stake, secure one end and unravel the other.
While planning out an irrigation system, it’s a great idea to go through the Neta irrigation planner and create a shopping list of exactly what you’re going to need when setting up the garden. You can pick these up from anywhere that you get your Neta fittings. When you’re setting up the piping, the golden rule is to measure twice, cut once; this will make sure you eliminate any wastage.
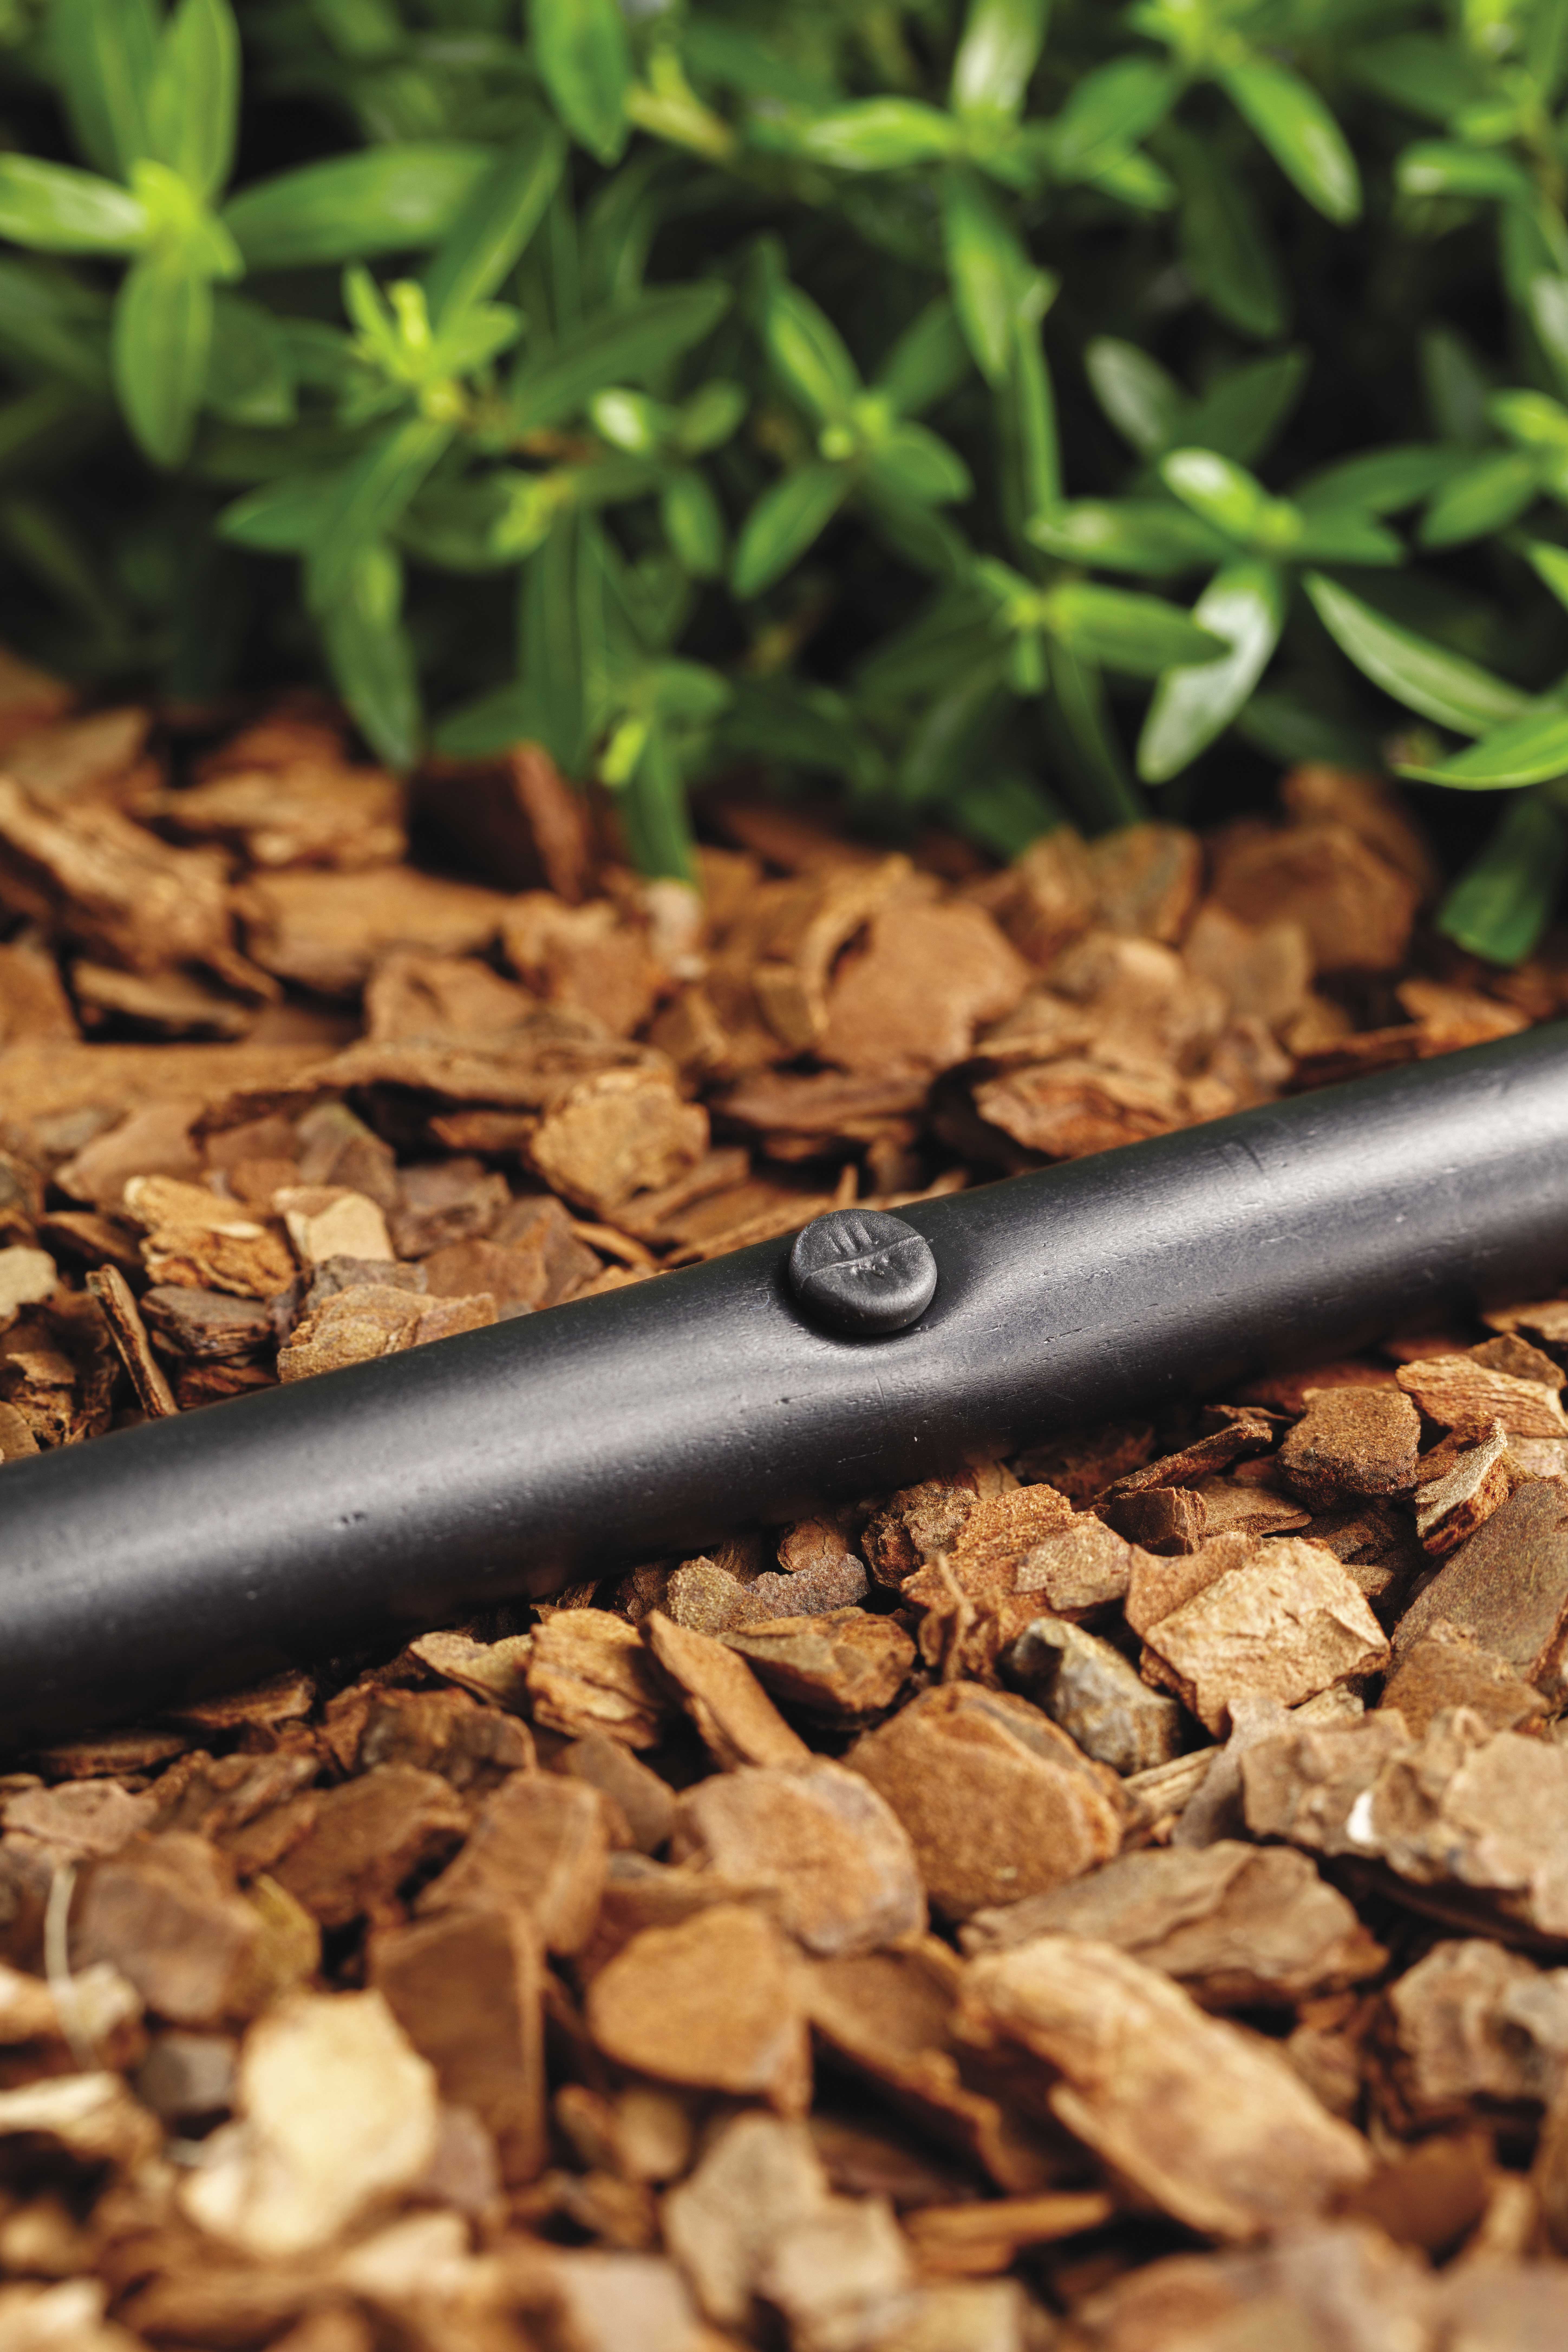
The sky’s the limit when setting up your irrigation system with Neta irrigation fittings. We have everything from joiners, elbows, tees, reducing tees, anything that you may need to make the job easier. There are a couple of ways to cap off the end of your line, you can use an end cap or even better use an in-line valve so that you can flush out any debris, ants or anything else that might get in the line. One tip for attaching any fittings to the end of your pipe, heat it up in some warm water, this will make inserting the fitting so much easier. If you’re connecting a hose to your poly pipe, use a click-on joiner with bug cap to stop anything crawling in the end when it’s not being used.
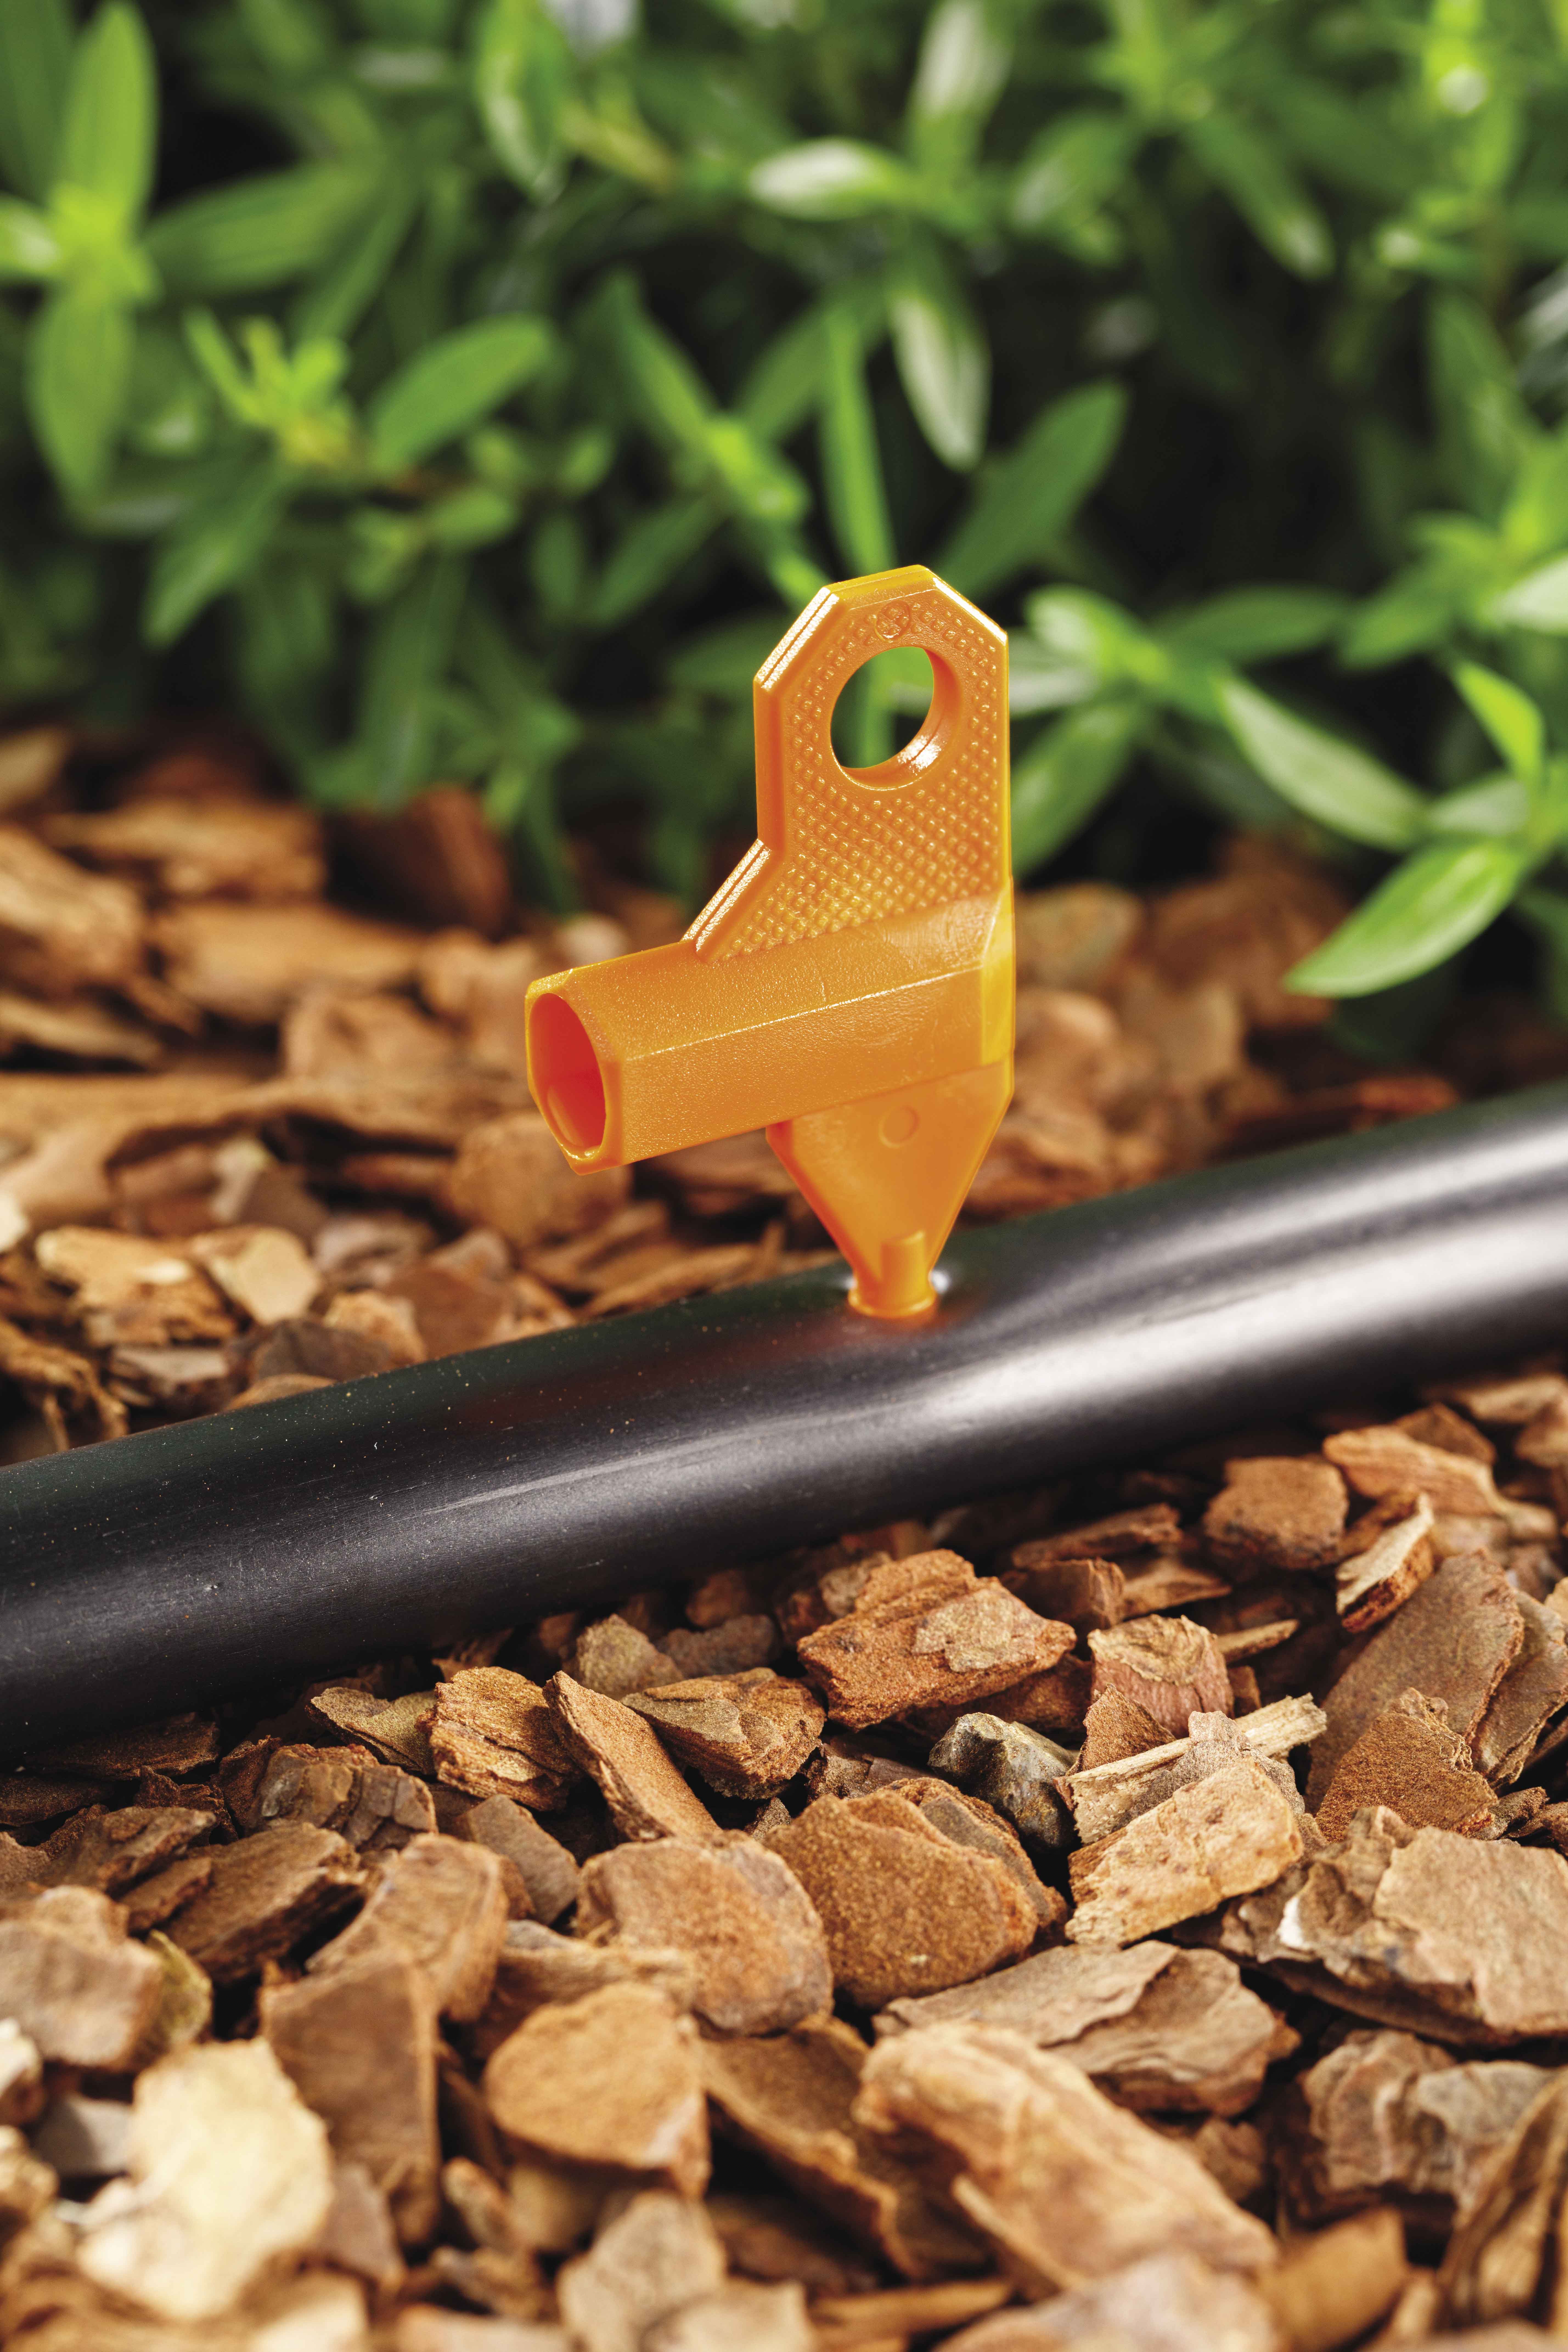
When you’re ready to start installing your sprinklers and risers, you’ll need a multi tool. Use this firstly to put holes in the actual piping, press down till you feel a click. You can then insert a riser and then use the multi tool to screw in the sprinkler head and remove the cap when you need to for cleaning. A good tip, keep your multi-tool on a lanyard so you don’t lose it and one other tip, if you do put a hole in the wrong place, use a goof plug to plug it up.
There are several different types of drippers available to use when setting up your irrigation system. Pressure compensating drippers will allow you to ensure an even water flow if you live on a sloping block. Adjustable drippers allow you to adjust the flow depending on water needs. We have different flow rates on our drippers anything from two litres up to four litres per hour. Drippers can also be attached to flexible tube if you need to position them in certain parts of the garden or directly under plants.
For plants that are a little bit away from the main line, use some flexible tube and a stake. Use your multi tool to punch a hole in the main line then if your plant is a bit of a distance away from the main line use the stake to hold the dripper and connect to the main line. This is a great technique to use when adding a new plant to the garden.
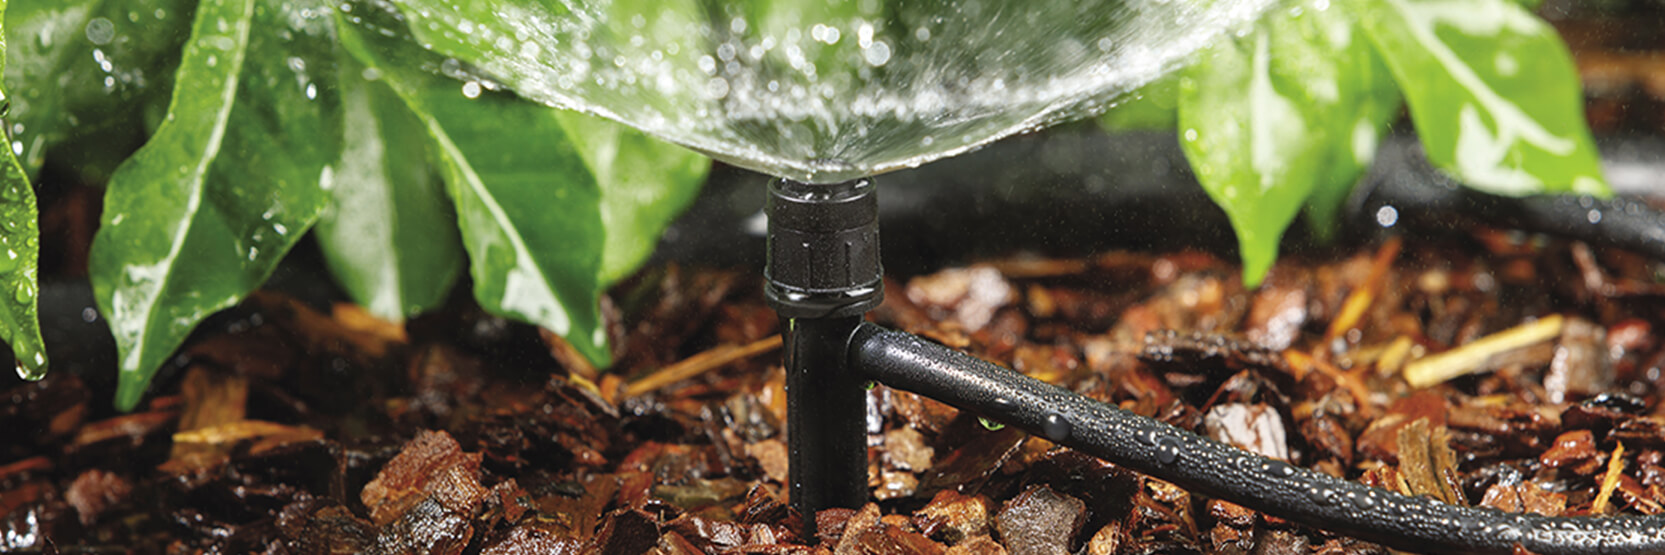
Micro sprays are great to use in your irrigation system, they create a fine spray that can be directed directly onto plants or throughout the garden. There are several different types anything from 90 degrees up to 360 degree sprays, misters, adjustable sprays, and sprays with removable sprinklers that are easy to clean. We also have micro sprinklers that are great if you need to cover a larger part. The Neta riser stake is designed to hold the riser in place keeping it straight.
Before you begin setting up your irrigation system, you need to work out exactly how much water you have available, this will determine how many sprinklers and drippers you can set up in the garden. To do this you just need a bucket, a phone with a timer and your irrigation planner. Time how long it takes to fill the bucket then go to the planner, it’ll tell you exactly how much water you have available.
A water timer may reduce the water pressure coming out of your tap so if you’re using one, do your bucket test through the timer, that way you’ll know exactly how much water you have. If you’re not using a water timer, you may need to reduce the pressure of water coming out of your tap. To do this, you can use a pressure reducer. It’ll connect straight onto the tap; make sure you follow the arrow on the reducer so that the water flow goes in the right direction. For the setup in our video, we’re using a click-on connector, small piece of poly pipe and an in-line filter.
If you’re not going to be disconnecting the pipe from the tap too often, a simple screw-on nut and tail will be just fine. When it comes to maintenance and repair, prevention is better than cure. Start with an in-line filter from the tap, make sure you install it with flow following the arrow. If you have unwanted insects in the garden, use an anti-ant product such as an anti-ant sprinkler or an anti-ant connector and we also recommend adding an in-line valve at the end of the poly pipe to allow you to flush out the system every now and again.
For the setup in our video, we decided to go with sprayers on risers but drippers would work just fine. It’s imperative you get your setup correct from the beginning. I hope these tips have helped you throughout the day, if you have any questions, you can contact us at Neta.
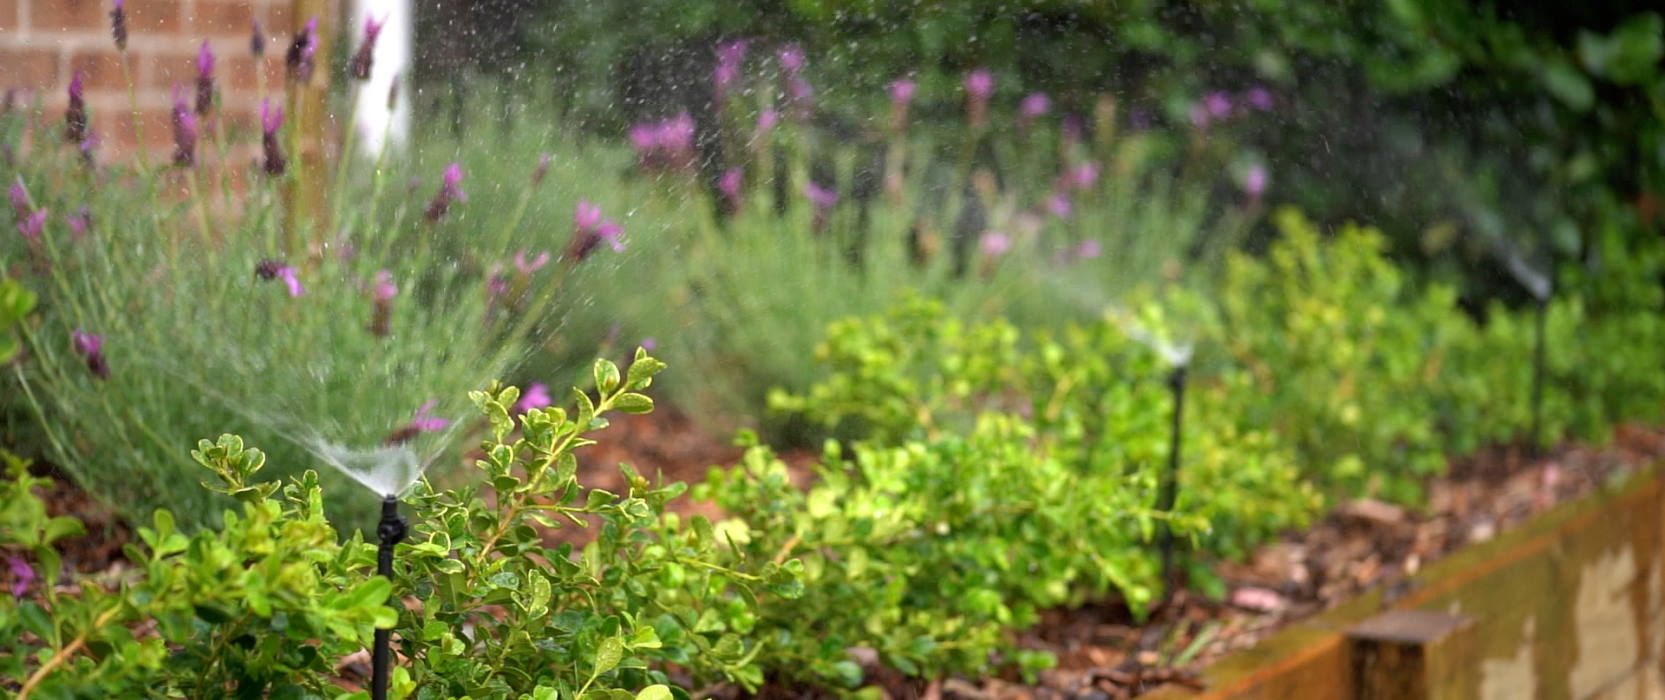
Now that you’ve installed your Neta irrigation system, you’re probably wondering when to water, how often and for how long. Well, the water’s journey will begin at the tap so let’s start there.
We recommend handing over responsibility of watering to an electronic tap timer. This Neta Two Zone Tap Timer splits your line into two giving you access to water without touching your irrigation system. Alternatively, you can use a one zone and split the line at the tap into two, three or even four. Either way, once programmed, the timer will take care of the rest.
It will be here at the tap that you will add a pressure reducer if the pressure is too high. It’s a good idea to insert an in-line filter to keep your water as clean as possible to avoid blockage from debris.
A big question we get asked is how often you should water? Well, that question leads to MORE questions. What plants are you watering? Are they newly planted? And what type of soil is hosting them? You’ll find some suggestions at the back of the Neta irrigation planner that will help you get started. Keep a close eye on your plants and adjust them accordingly.
It goes without saying that you’ll need to adjust your automatic irrigation program at the start of every season and make sure you use the rain delay function when it rains. When determining how long to make each irrigation session, test out your soil’s water retention by running your system for 10 minutes. After a couple of hours, dig down into the soil and see how far the water has penetrated. Add another 10 minutes if not sufficient, and so on. The deeper the water penetration, the deeper the roots will go which will make for a healthy plant.
By choosing a Neta irrigation system, you’ve already become more water wise. I’ve got a few other tips to help you become even wiser.
- Watering at the right time is essential. Early morning is best and you can leave that chore to the Neta timer.
- Choosing the right plants such as natives and other plants that need less water is also smart. And the birds and bees will love you for it.
- Don’t forget to mulch. Not only will it reduce evaporation and water run-off, it will provide nutrients, restrict weed growth and look great.
- A special note for lawns, if your lawn doesn’t spring back when you step on it, you’ll need to water it. Water thoroughly to encourage deeper roots, giving you a stronger, more drought-resistant lawn.
The best advice is to listen to your plants and adjust your irrigation program accordingly. They’ll let you know quite quickly when you are under- or over-watering them. Once you’ve mastered the art of watering, they will reward you with bountiful harvest, colourful flowers and beautiful greenery.
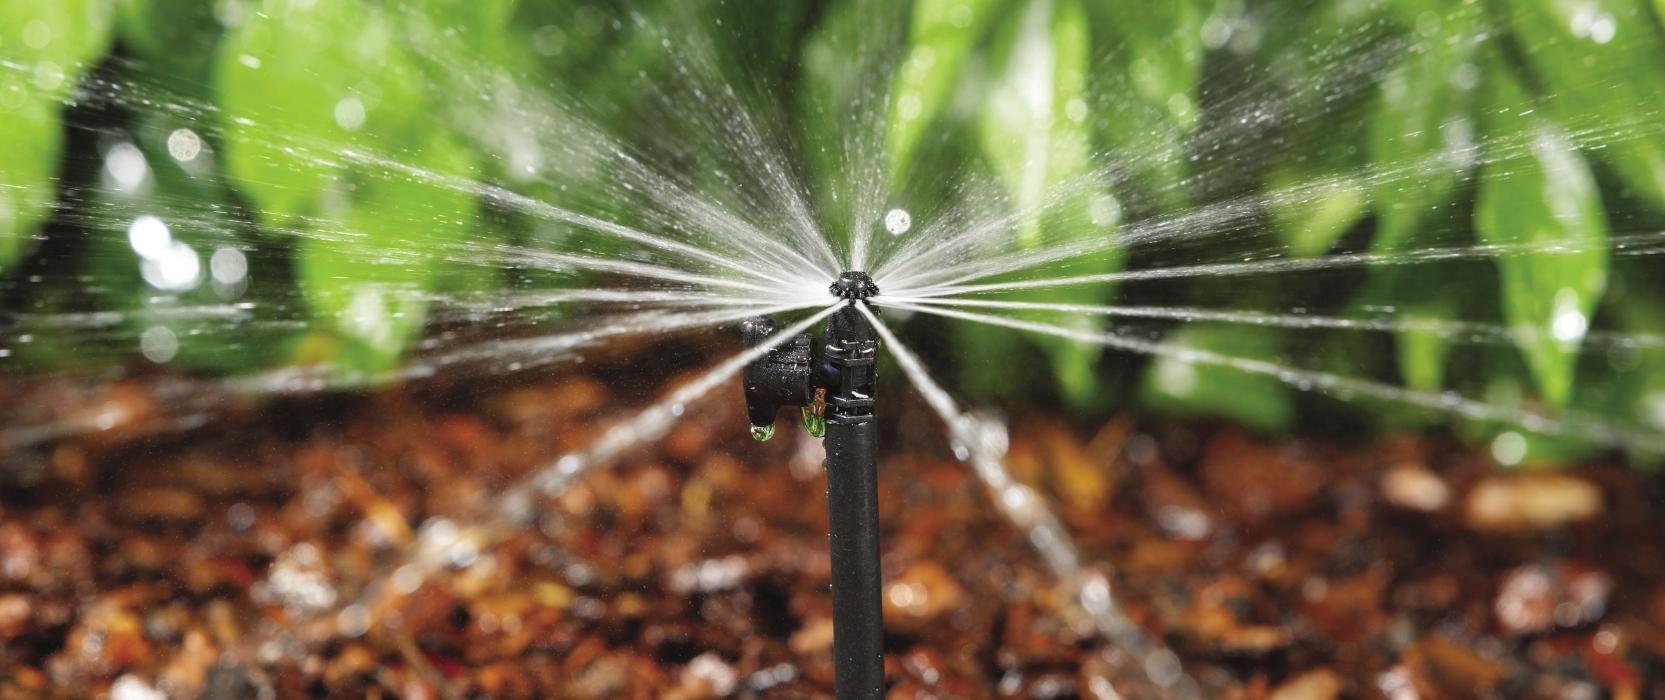
Micro-irrigation can seem daunting at first. You might have found yourself standing in the irrigation aisle of your local hardware store staring at a display of little black plastic bits that all look the same but surely all must have their specific purpose. Where does one begin?
We are here to help you on your journey. Follow our step-by-step guide and you will be irrigating your garden effortlessly in no time.
1- Your first step is to download the Neta DIY Irrigation Planner. It will assist you every step of the way and will also serve as a handy shopping list to take to your local hardware retailer.
2- The guide will first ask you to identify the areas you want to water, measure them and draw them on graph paper. You don’t need to be a great artist; however, it does help to have accurate measurements of your garden beds.
3- The next step is the bucket test which is needed to determine your flow rate. All you need is a 9 litre bucket and a stop watch. Simply turn your tap on full blast and time the amount of seconds it took to fill up the bucket. Your flow rate will help determine the amount of lines you will need.
Some considerations:
- Do the bucket test at approximately the same time of day that you plan to run your irrigation.
- Do the bucket test with your electronic tap timer attached if you plan on using one as it could affect the flow rate significantly.
- If you put too many water emitters on one supply line you could exceed your tap flow rate. If this happens, the water output may be affected and the system may not water your plants as expected.
4- Once you have planned out your irrigation system using the planner information and your drawn map, you will end up with a list of components you will need. Take this list to your local hardware store or garden centre and gather what you need.
Make sure to purchase items such as Pipe Saddle Clamps, Rigid Pipe Stakes and Ratchet Clips as these are important for holding your irrigation system in place.
Add a pack of Goof Repair Plugs as there is always a chance you may put a hole in the wrong place and will need an easy way to repair it.
5- Once back home, your first task is to unroll the poly pipe and stretch it out in a straight line in the sun using Rigid Pipe Stakes to hold it in place. The warmth from the sun will soften the pipe and remove the coiled storage memory making it easier to handle.
6- Mark out the area in your garden where you want to set up your irrigation system based on the layout drawn using your Neta irrigation planner. Remember to measure twice and cut once.
7- Soaking pipe ends in hot water will soften them making it easier to slip over the barb fittings.
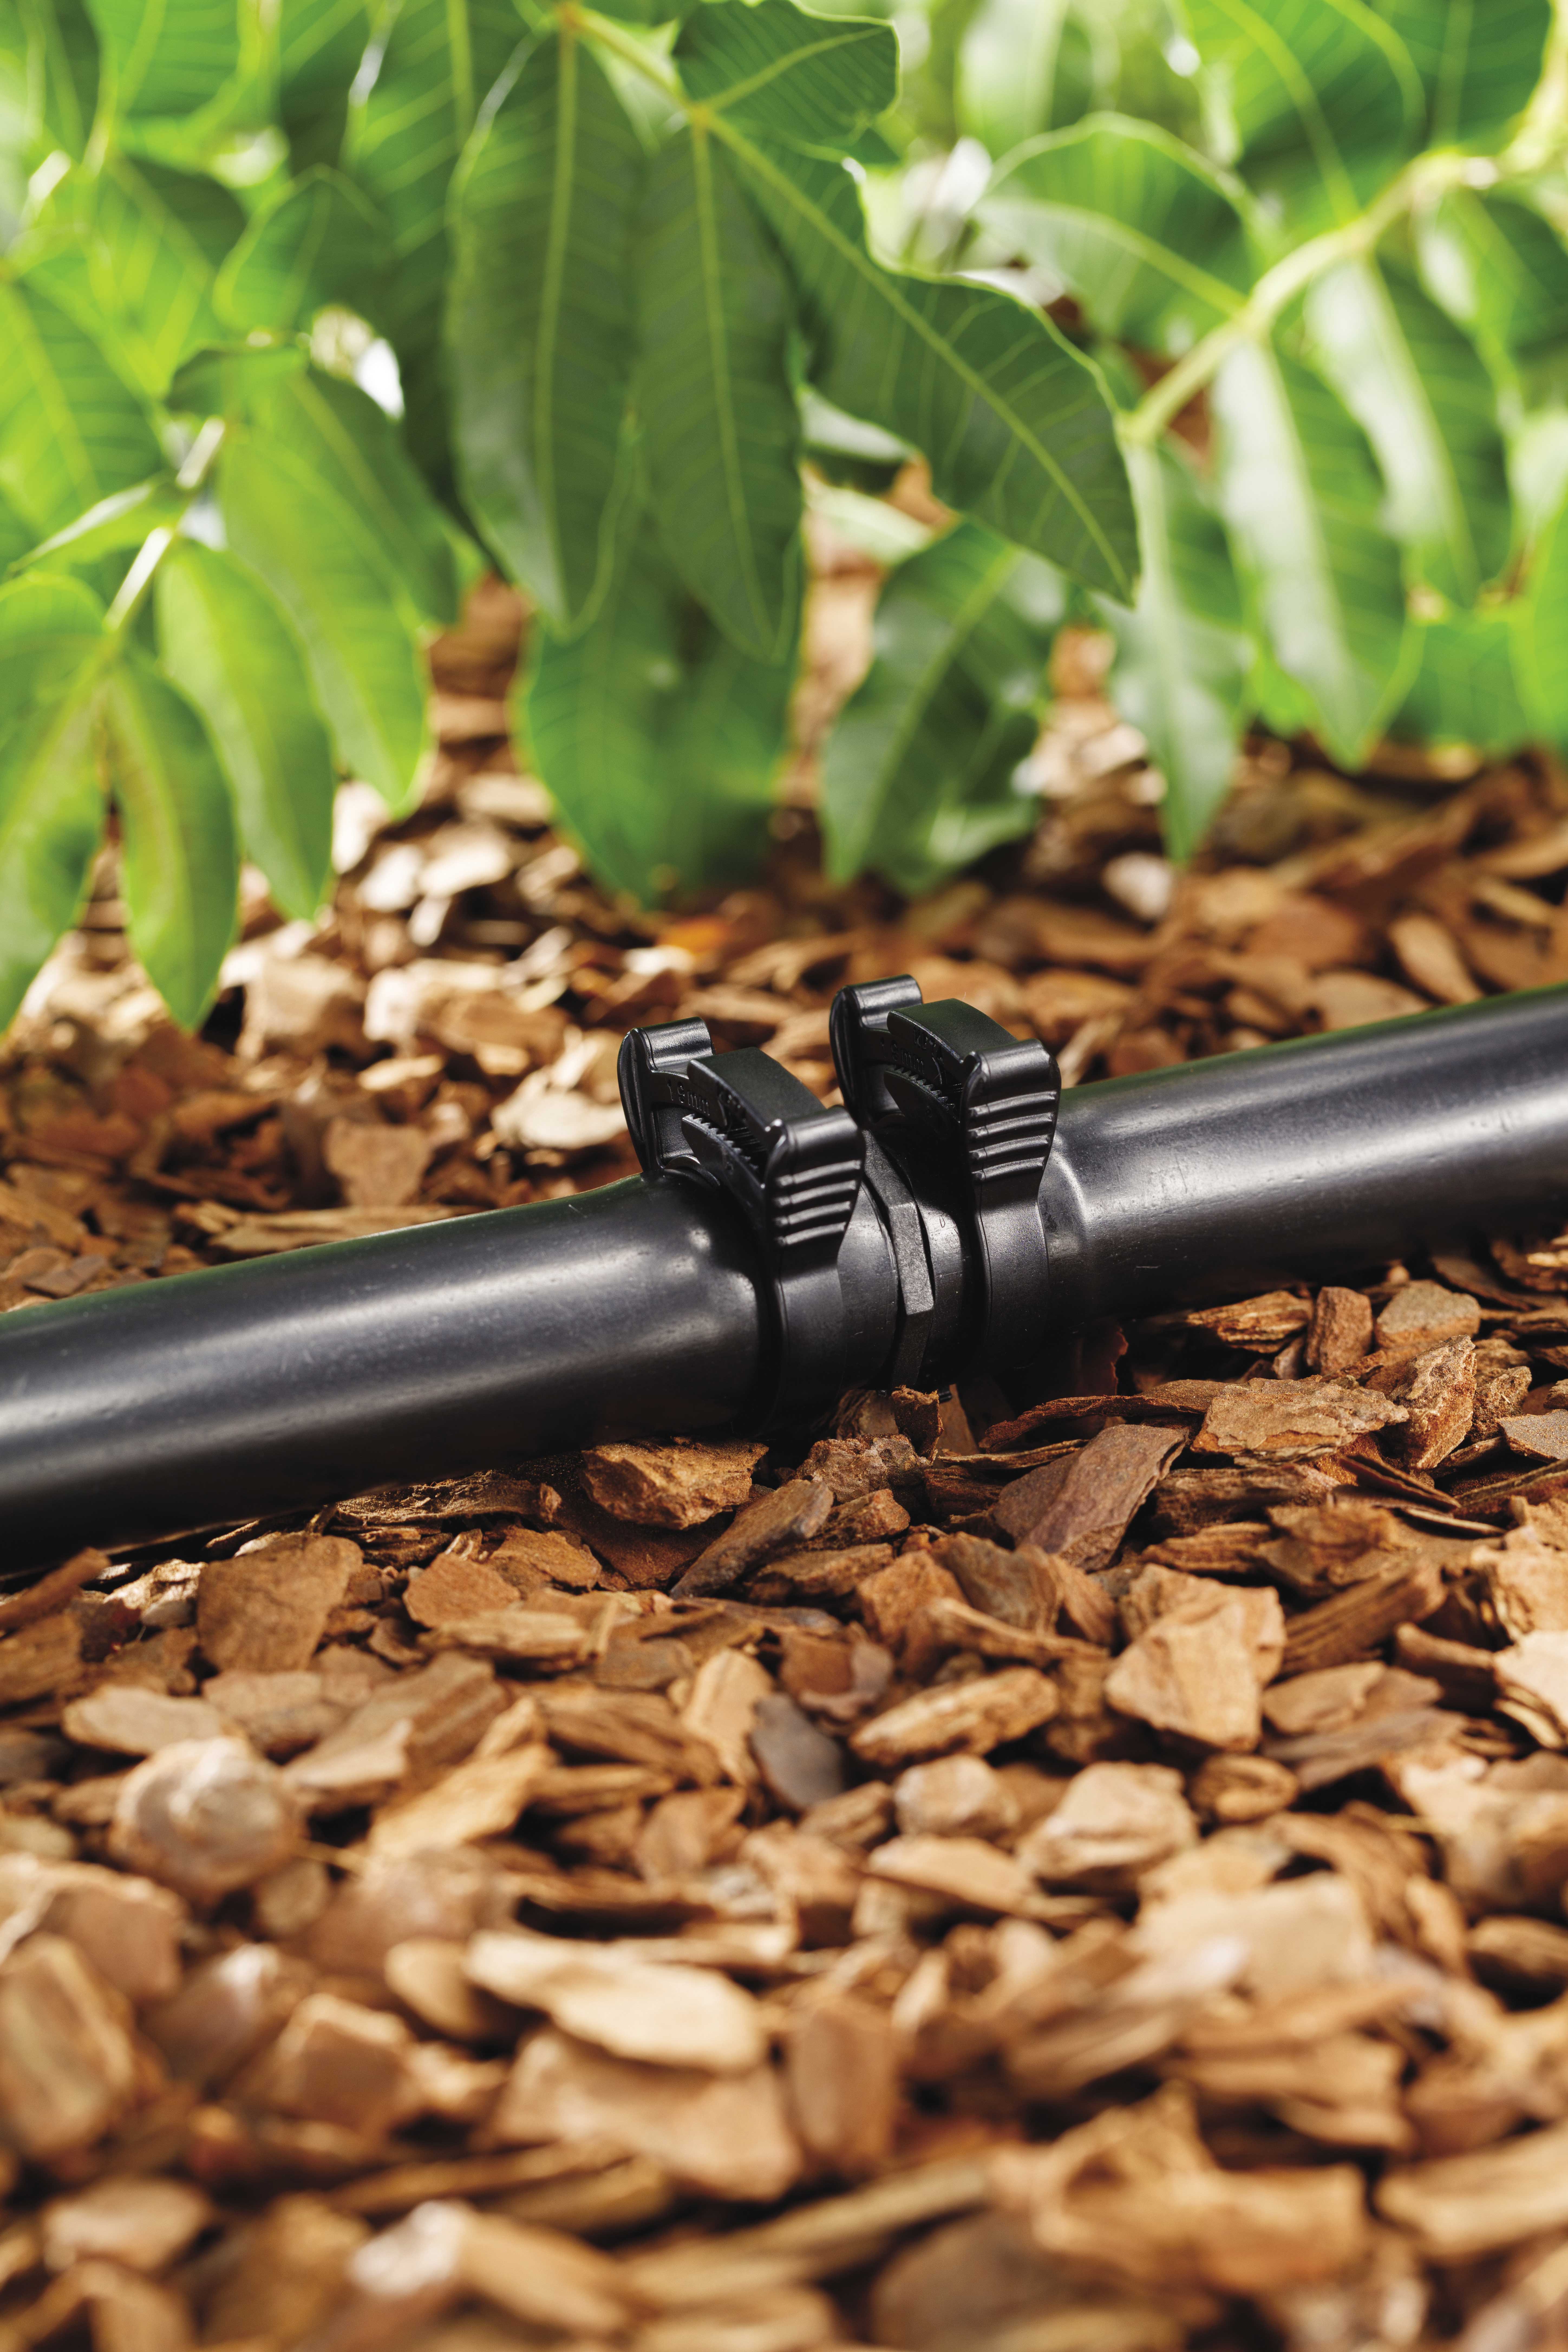
8- Using a Ratchet Clip at each connection between the fitting and the pipe will ensure that the fitting will not pop off, especially with strong water pressure.
- Use a pair of pliers to ensure the Ratchet Clip clicks in all the way.
- Make sure the arms of the Ratchet Clip line up perfect or there is the potential for the clip to pop open.
9- Secure the system in place with Pipe Saddle Clamps and Rigid Pipe Stakes.
10- Determine where the drippers, sprayers, or joiners for the 4mm Flexi Tube will go and use the 4mm Multi Tool to make holes.
11- Either use your hand, or the 4mm Multi Tool hex socket to push or screw in the dripper, sprayer, or joiner.
- If you are using the Flexi Tube to extend your irrigation system, it is helpful to assemble the sprinklers and drippers before attaching to the main pipe.
12- Avoid getting dirt and debris into the system as you assemble it as it may clog the drippers and sprayers.
- A filter at the tap end will also help prevent debris entering the system.
13- Connect the system to the tap and check for leaks. This is especially important to do before burying any parts of the system below the soil. Adjust the flow on adjustable drippers and sprayers to give the required spread of water across the soil.
Congratulations! You have finished and your irrigation system is good to go.
To make irrigating your garden and lawn even easier, consider adding an electronic timer to the system so you can water the garden automatically and effortlessly.
A beautiful garden or a lush lawn needs regular watering in order to stay healthy all season long. Watering the garden by hand though can become time consuming, especially in the height of summer when the watering demands increase.
Taking the time to set up an irrigation system in the garden can be time saved in the long term, with the added benefit of reducing water wastage since you control where the water specifically goes and how much gets distributed.
There are irrigation options to suit every garden but the abundance of choice can be quite overwhelming when having to decide what kind of irrigation system you need. Deciding when it is best to use sprayers or drippers is an important factor in irrigation success. Here is a quick break down of the differences between sprayers and drippers to help you decide what is best for your garden:
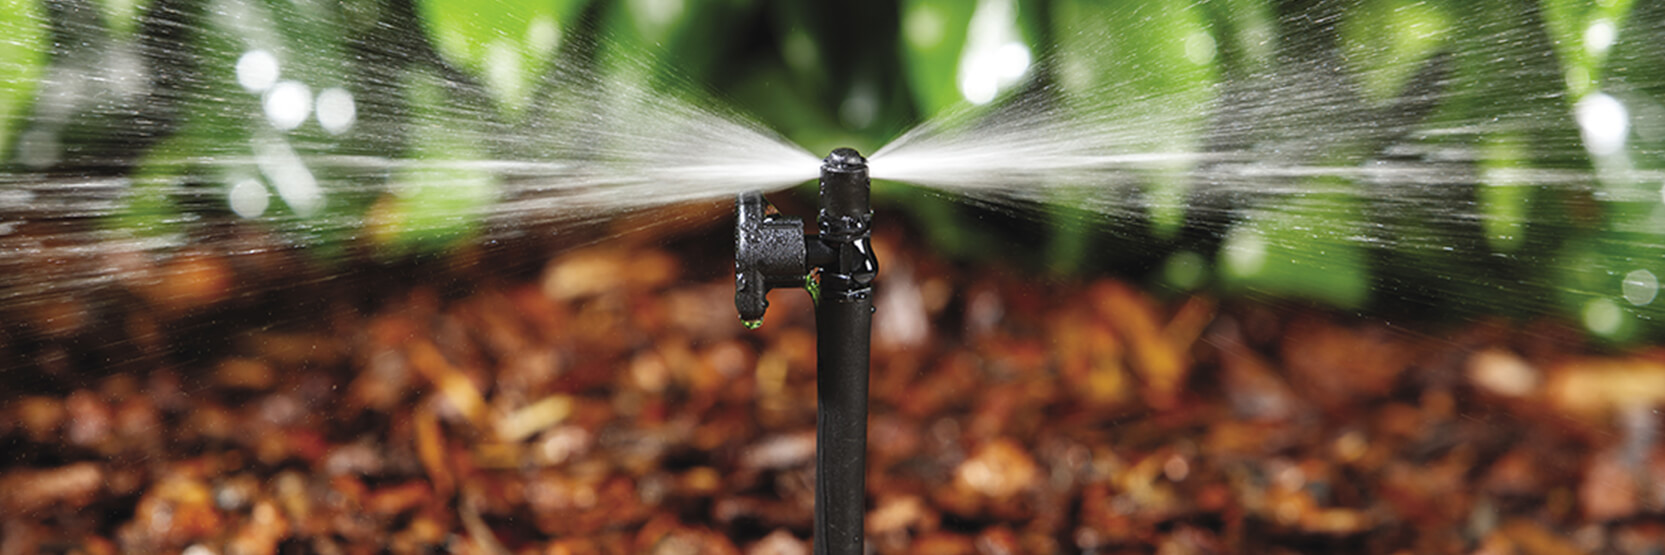
SPRAYERS
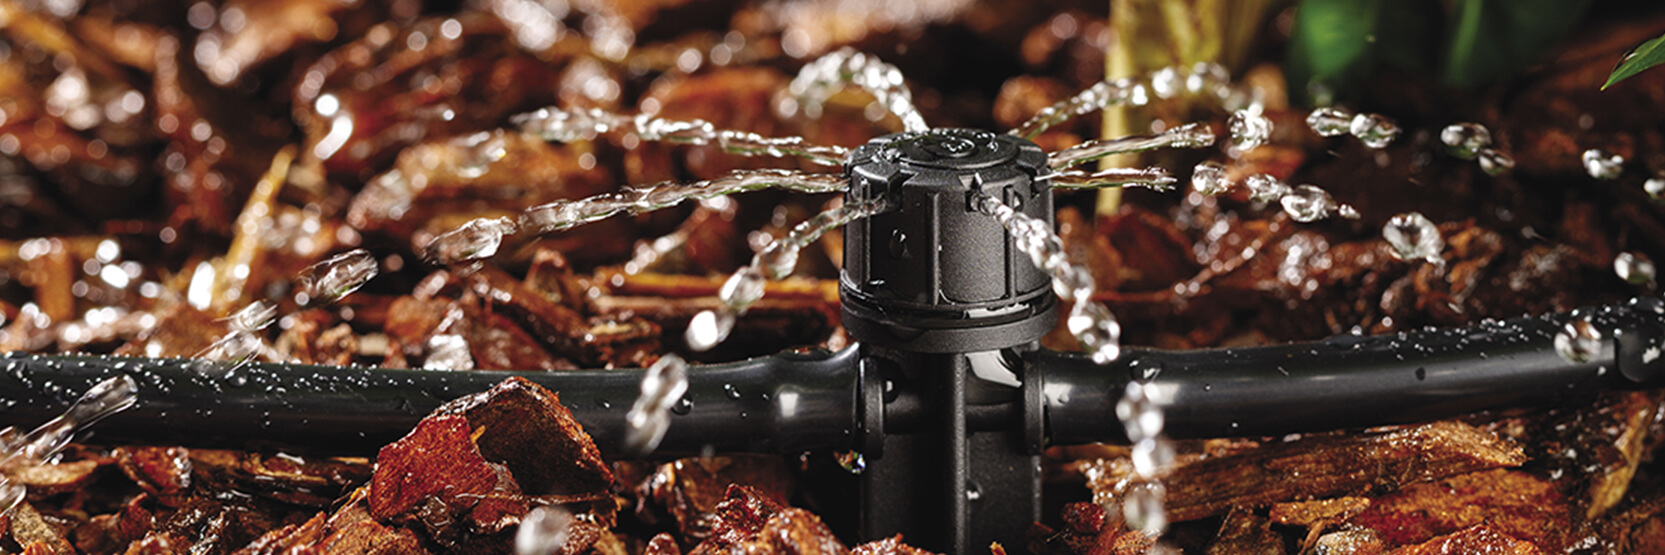
Sprayers are best suited to large areas like lawns or large garden beds and will indiscriminately wet everything in its reach including the soil and the entire plant.
Within the sprayer range you can have control over the area you want watered and even how vigorously you would like that water delivered.
Most sprayers have the option of spraying in a full, half or quarter circle or even in a narrow strip so you can ensure that only the garden or lawn is watered, and paths, walls and fences are left dry.
Sprayers also vary in the type of spray that is given off, from small droplets in a fine mist to a robust sprinkler effect with larger droplets.
The various sprayers also vary in the distance the water is distributed across your garden and also the pressure that is it delivered. There are fixed and adjustable versions available allowing increased flexibility when setting up your irrigation system.
Deciding on which sprayer you need depends on what you are trying to spray. A fine mist or a gentle spray can be great for seeds and tender young seedlings and for plants that enjoy humid conditions such as fern and, of course, delicate plants that can be harmed by vigorous watering. Whereas a sprinkler spray is more suited to a lawn or large garden area.
Considerations:
While there is a wide range of sprayers for every situation there are a few downsides to be considered:
- Watering this way can result in loss of water through evaporation, run off and water being blown away.
- Watering the leaves of the plant can create humid microclimates making the plants susceptible to fungal diseases.
- As everything in range is watered, you can encourage the growth of weeds.
- To ensure even coverage extra effort is required to plan out the ideal irrigation system layout.
- As plants grow, they can interfere with the spray pattern and block water from their neighbours.
DRIPPERS
Drippers deliver water in a more specific way, as the name suggests, dripping water near individual plants and specific areas. They also come in a range of styles to suit their intended location and water pressure and also include adjustable drippers so you can adjust the area being watered.
Drip irrigation is slower than spray irrigation but delivers the water directly to the soil and the roots so there is much less water loss to evaporation and the plants stay dry, so the risk of fungal disease is greatly reduced. Allowing a good steady drip at the roots for a longer period of time will encourage the roots to grow deeply and become more resilient in dry periods.
As well as for specific plants like shrubs and trees, dripper irrigation is great for container and hanging baskets.
Drip line hoses, with evenly spaced drippers are a great way to water larger areas such as vegetable gardens, annual flower beds and hedges. As an added bonus, drippers work well with low water pressure.
Considerations:
While drippers can be a great choice, they have a few drawbacks.
- They aren’t suitable for large areas such as lawns.
- They can become blocked with dirt, grit and insects and require checking and cleaning from time to time to ensure the system is working well.
Once you have decided which option is the right one for you there are a few more points to consider:
- Ensure your water supply has enough capacity to support your sprays or drippers. Perform a bucket test to determine your water flow rate which will help you determine the number of lines you require.
- Don’t mix drippers and sprinklers/sprays on the same line as they have different flow rates.
- Don’t use too many drippers or sprays on one line as this will reduce performance.
- You might want to consider a “set and forget” approach by adding an electronic tap timer to your system.
Setting up an irrigation system allows you to effortlessly and efficiently target your plants’ specific watering needs. The initial investment in time is paid off with years of hands-free irrigation. Using the Neta DIY irrigation planner and reading through our step-by-step installation article will make the installation process easy.
Make sure to keep in mind these 10 handy hints and tips to make the job even easier.
#1 Take the time to plan
Take ample time to design your irrigation plan using the Neta DIY irrigation planner to ensure you have all the components you need to get the job done and to ensure your irrigation system will water your garden effectively.
#2 Let the sun help out
To remove the curl from new poly pipe, unrolling it and laying it in the sun will help straighten it out. Rigid Pipe Stakes can hold the poly pipe in place as it softens and relaxes.
#3 Heat things up
Heating the end of the poly pipe in hot water for a few minutes will soften it and help when slipping the poly pipe over the barb on the fittings.
#4 A clean cut
Make sure the end of the poly pipe is cut as straight as possible to ensure a good connection with the fittings. The poly pipe is soft enough to be cut with a good pair of scissors.
#5 Ratchet Clips
Rachet Clips are important to help keep fittings in place, especially if you have strong water pressure. Use a pair of pliers to lock the Rachet Clips in place for a strong fit. Make sure the arms of the Rachet Clip are properly aligned when clicking it tightly, if they are at an angle to each other they are at risk of popping open.
#6 The Multi Tool
The Multi Tool serves as a punch spanner and has a hex socket that can be used to push microjets and joiners into place. It’s especially useful for when using Goof Plugs to repair holes in the pipe since they can sometimes be fiddly to handle.
#7 Stay clean
Avoid getting dirt in the pipes or fittings while assembling your system as this can block the drippers and sprayers.
#8 Consider your soil
Your soil type can affect the frequency of watering. A light sandy soil will require watering more often and for longer than a heavy clay soil.
#9 Perform a test
To determine how long to water your garden, run the irrigation in 10 minute increments and wait a couple of hours. Then dig down into the soil to see how far the water has penetrated. If it is still dry below the surface you will need to run your irrigation for longer and if it is soggy you may need to water for less time. This may require adjusting in hotter weather.
#10 Water wisely
To avoid wasting water, try to water early in the morning to avoid loss through evaporation. An electronic tap timer can help with this early morning chore.
Follow these tips and once you have your irrigation system set up and have determined the best routine to suit your soil and plants, all your garden watering needs will be taken care of at the turn of a tap.
